
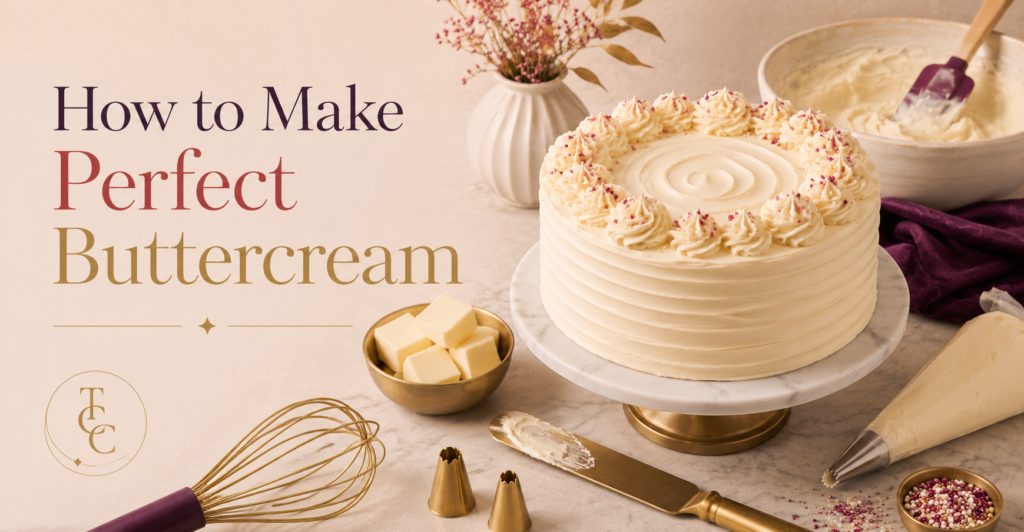
Perfect buttercream comes down to three things: room-temperature butter, properly sieved icing sugar, and patience – most buttercream problems come from rushing one of these. Here’s the method I use that works every time, and all the tips I’ve learned the hard way from 6 years of professional baking.
This guide covers classic American buttercream (butter and icing sugar) — the most common type for cakes, cupcakes, and piped decorating, and the one I always use.
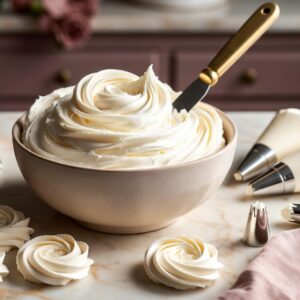
What You’ll Need
- Salted butter, properly softened at room temperature (not melted, not fridge-cold)
- Icing sugar, sieved
- Vanilla extract, or whatever flavouring you like
- A stand mixer or handheld electric mixer
Quantities
No matter what I’m using it for, I always go for a 1:1 ratio of butter to icing sugar. Once whipped properly, this gives the best consistency and taste for any buttercream. Any more icing sugar and you’ll find it too sweet. Any less icing sugar and it won’t hold its structure.
Below are the rough amounts I use for 6, 8 and 10 inch cakes, with three layers of sponge, buttercream filling and a crumb coat. You’ll need more if you’re adding a buttercream finish; these quantities are just for structuring the cake.
| Cake Diameter | Butter | Icing Sugar |
| 6 inch | 250g | 250g |
| 8 inch | 350g | 350g |
| 10 inch | 600g | 600g |
The Method
- Start with properly softened butter. This is the step most people rush, and is the cause of many problems. Butter should be soft enough that you can leave a slight finger indent if you press it, but don’t go as far as to let it get greasy or melt. This usually takes a couple of hours at room temperature. Always plan this ahead, so you don’t feel pressure to take shortcuts.
- Beat the butter well. No sugar yet! Beat the butter by itself for 3-5 minutes until it’s pale and smooth. You’ll get lovely little wisps forming at the edge of the beaters when it’s ready for the next step. It’s easy to rush here, but totally worth the extra time!
- Add your flavouring partway through. I beat my butter for about 3 minutes, add vanilla extract and then beat for a further 2 minutes. Adding it at this stage has never failed me in 6 years of professional cake making.
- Sieve your icing sugar. Non-negotiable. Yes, it’s a pain, but you simply won’t get smooth buttercream without doing this.
- Add your icing sugar. I add mine all at once. I’ve tried doing it in batches, but I find it makes no difference to the finished buttercream. Just adds pointless steps to the process. It’s all about beating it for long enough. Simple.
- Top tip – gently mix in the icing sugar with a silicone spatula first. Don’t go in with your beaters straight away, or your kitchen will look like it snowed in there!
- Mix longer than you think you need to. Once everything’s combined, keep mixing on medium-high speed for another 3+ minutes. This is what takes buttercream from “fine” to really velvety – lots of problems come from too little mixing.
- Check the consistency before you finish. The buttercream should hold its shape well but still be soft enough to spread and pipe easily. If it’s too stiff, keep mixing. If it’s too soft, a little bit more sieved icing sugar will firm it up.
Common Problems (and Where to Find the Fix)
- Split or curdled buttercream – Why Did My Buttercream Split?
- Runny buttercream that won’t hold its shape – Why Is My Buttercream Too Runny?
- Grainy or gritty texture – Why Is My Buttercream Grainy?
A Few Extra Tips
- Room temperature ingredients make a bigger difference than almost anything else – if you’re not sure your butter’s warmed up enough, just wait a little longer for good measure
- Sieving icing sugar feels like an annoying extra step, but it really does make a difference. You don’t want grainy buttercream now, do ya?
- Don’t be afraid of mixing for longer than it feels you should – buttercream almost always improves with extra time on the mixer, not less
- And finally, skip the liquid! I’ve never had to add milk or cream to my buttercream to loosen it up. Just keep mixing!
- Salted butter might seem odd, but it genuinely balances the sweetness better than unsalted. Give it a try and let me know if you agree.